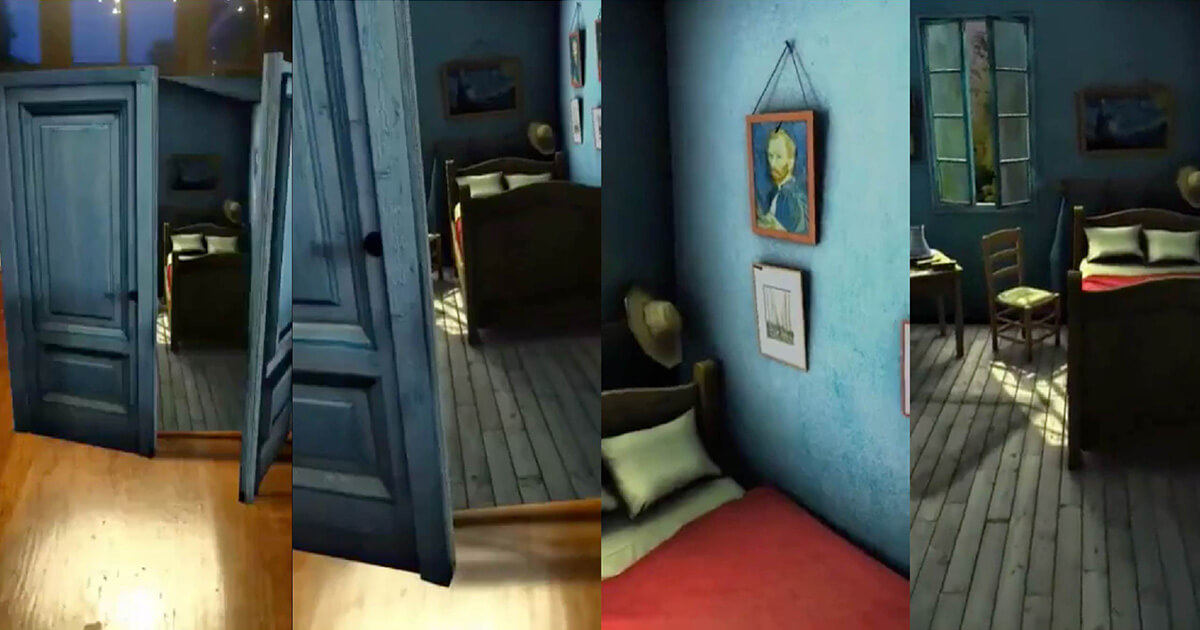
How to design AR portals with Spark AR Studio: here's a walkthrough. You’re likely here because you saw the portal to Bedroom in Arles, a famous painting by Van Gogh. The 3D model of that room has been masterfully crafted by Ruslan Sokolovsky, make sure to check out his Sketchfab page.
Estimated walkthrough time: 1 – 1.5 hours
What you need to follow this tutorial:
– Spark AR Studio
– 3D modelling software (I use Blender)
– glTF Importer extension for Blender
– Graphic design software (I use Photoshop)
– 3D model of a room
– A patch group I put together
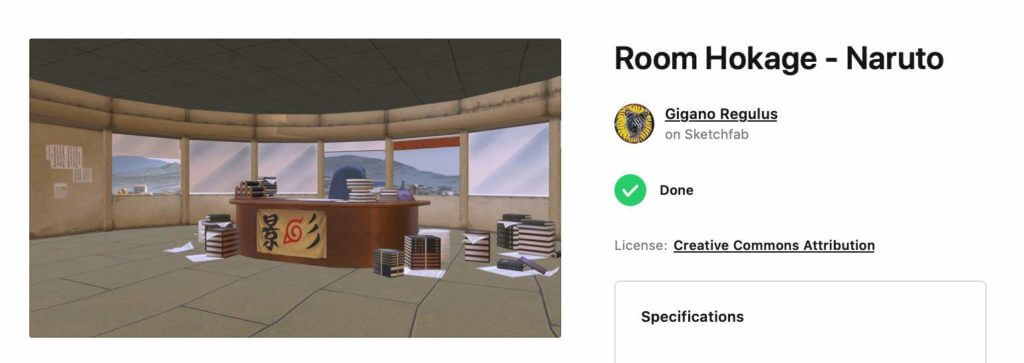
For this tutorial, we will be using a 3D model of a room from Naruto, downloaded from Sketchfab. The model is designed by JP André and lends itself very well to be used as a portal. We add the 3D model to our scene from the built-in AR Library later on.
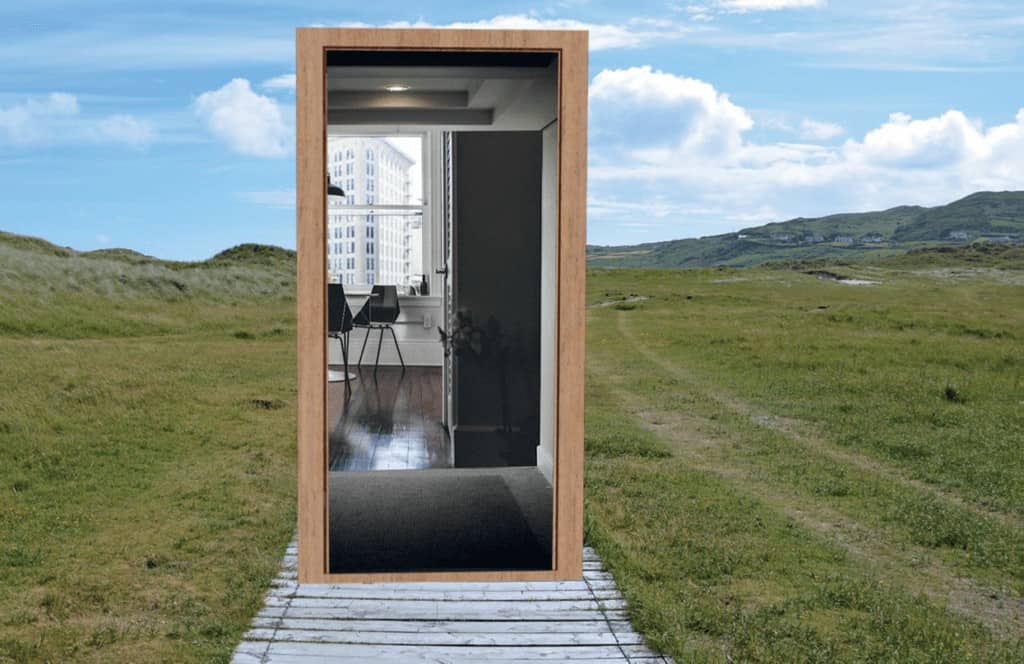
A portal is by definition a doorway, gate, or other entrance. Those doorways lead to, for example, rooms and those rooms are often surrounded by walls. The walls prevent you from looking into the room. And that is almost how portals work in our case, the AR filter kind.
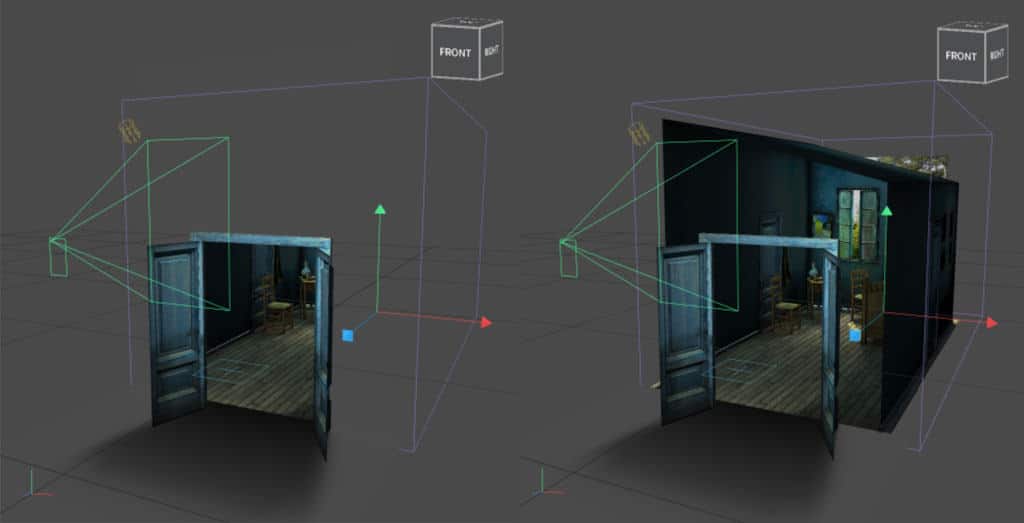
The inside of these room can only be seen through that same doorway. Therefore, this might be the most important trick to how these portals work, and it’s the simplest one to achieve. There’s a big cube-shaped mesh around the entire room, which serves as an occluder. The shape of the door is cut out of that occluder, allowing you to see the insides of the room through it.
The most immersive portals, are those that completely surround the user. For instance, if someone steps inside an AR portal, they expect to be completely submerged in the new environment. That’s why 3D models of rooms and 360 degrees video/pictures work really well as portals. If there’s a natural door or gateway in your model you can use as the entrance to your portal, you get bonus points.
In order to grasp the full scope of our portal project, we would suggest loading the model into Spark AR as a first step. If you do that by using the built-in connection to Sketchfab, credits to the original designer are added to your attributions. Don’t worry about any adjustments we might have to make to the model. Therefore we can access the source files from our project folder later.
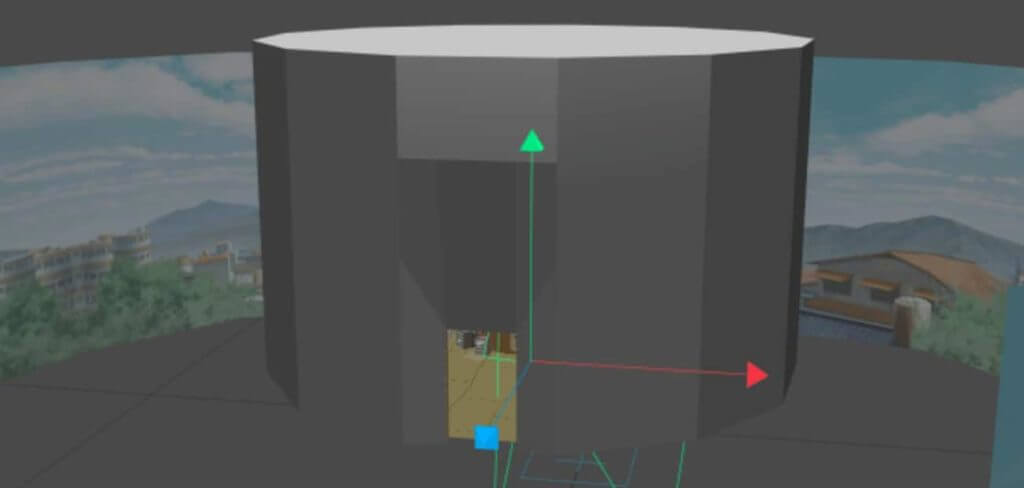
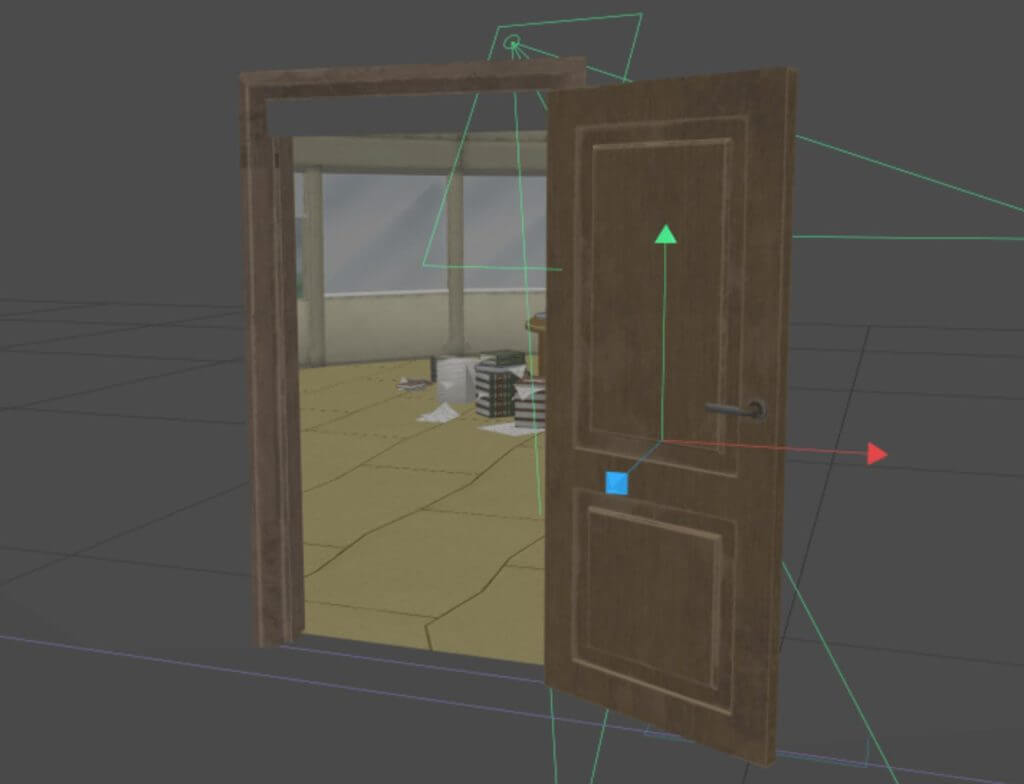
Open up the AR Library and look for “Room Hokage – Naruto”. Import the model and wait for it to be imported successfully. Drag the model into your scene and have a first look at what we will be creating!
You may notice this model comes with a few more walls then we will actually need. The round structure in the middle will be our portal, so we won’t be needing the outer walls. But we’ll get to that later! Our first step is creating the occluder and getting it in place.
Now that you imported the 3D model in Spark AR, save your project file.
After that, open your favourite 3D modelling software and open/import the model. If you’re using Blender you will have to install a glTF import extension, find that here.
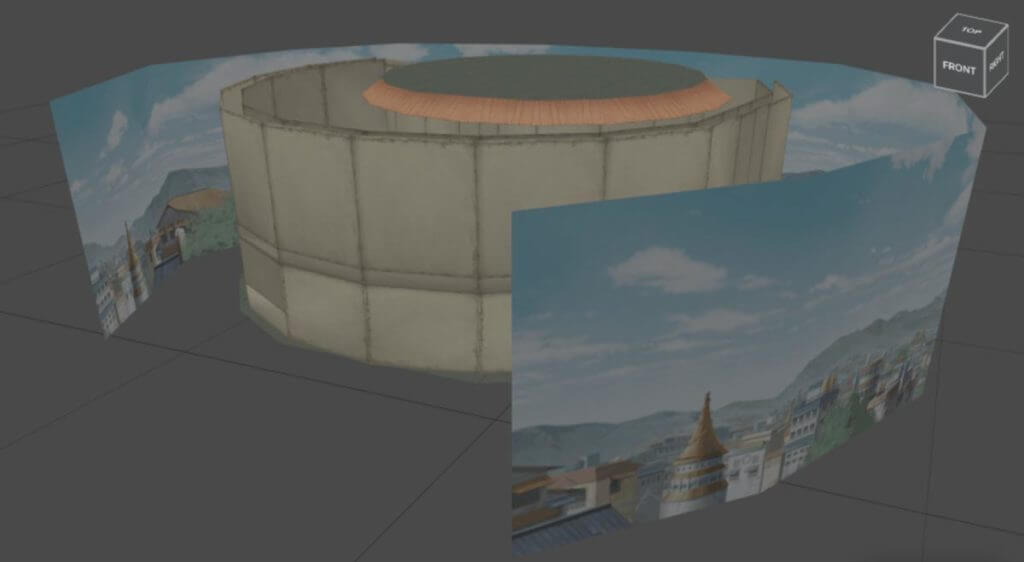
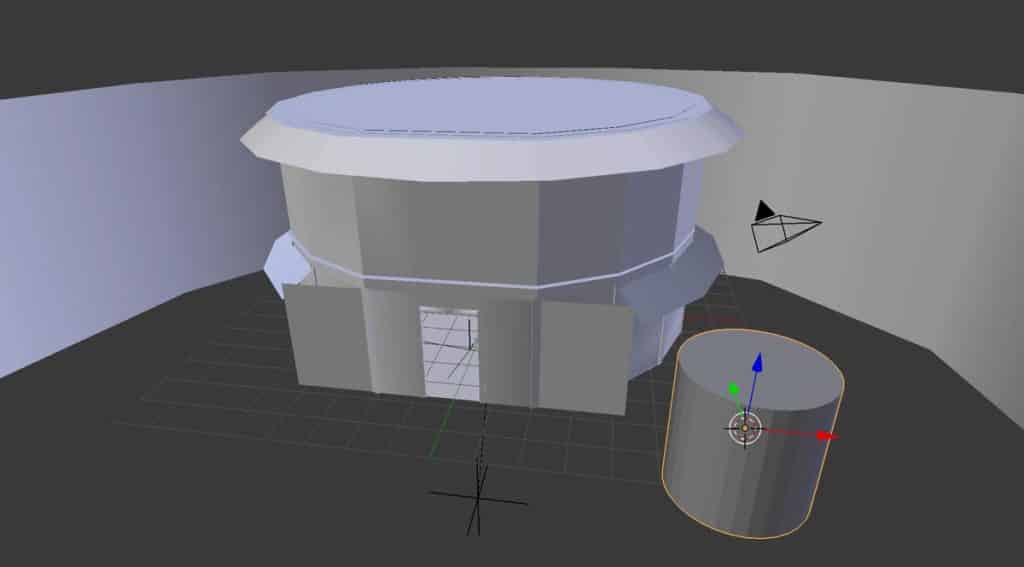
We got rid of all the objects we don’t need, and all that’s left in our scene is the round structure as well as the very outer texture, which had the environment texture on it. Therefore, the occluder we are about to create will need to completely surround the round structure. The best mesh shape to start out with is the cilinder.
The roof of the structure is a little bigger than the actual room. Therefore, we’ll have to adjust that manually. We have already imported it in Spark, so we can edit that there later. Go ahead and turn off the overhanging parts of the roof, as we won’t need to take those in account.
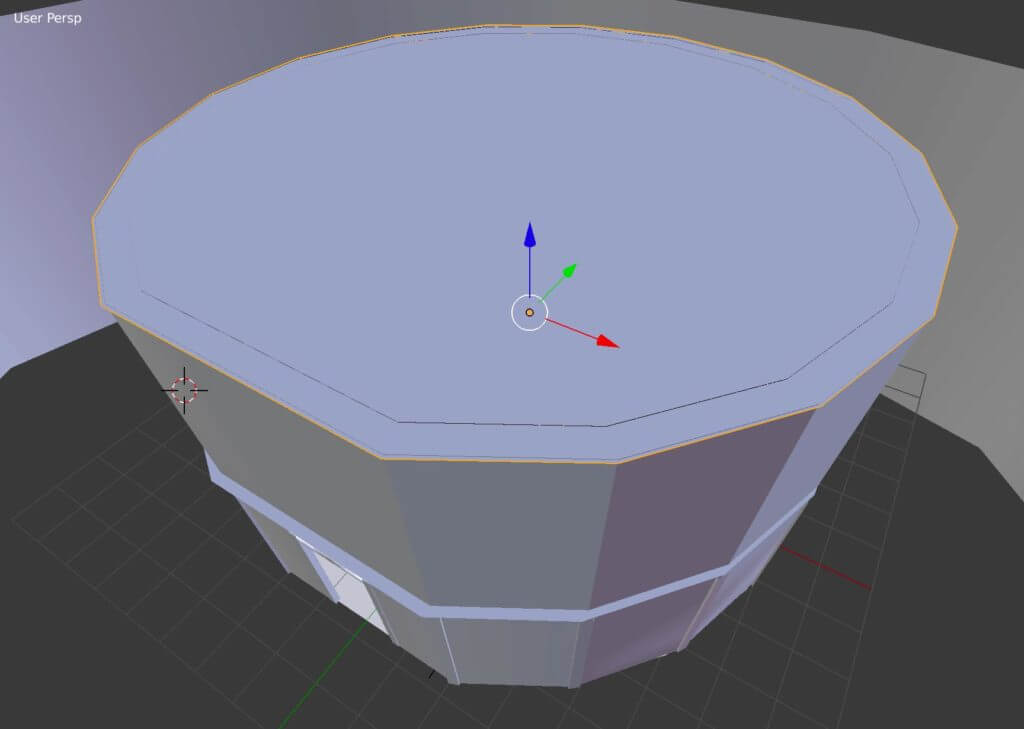
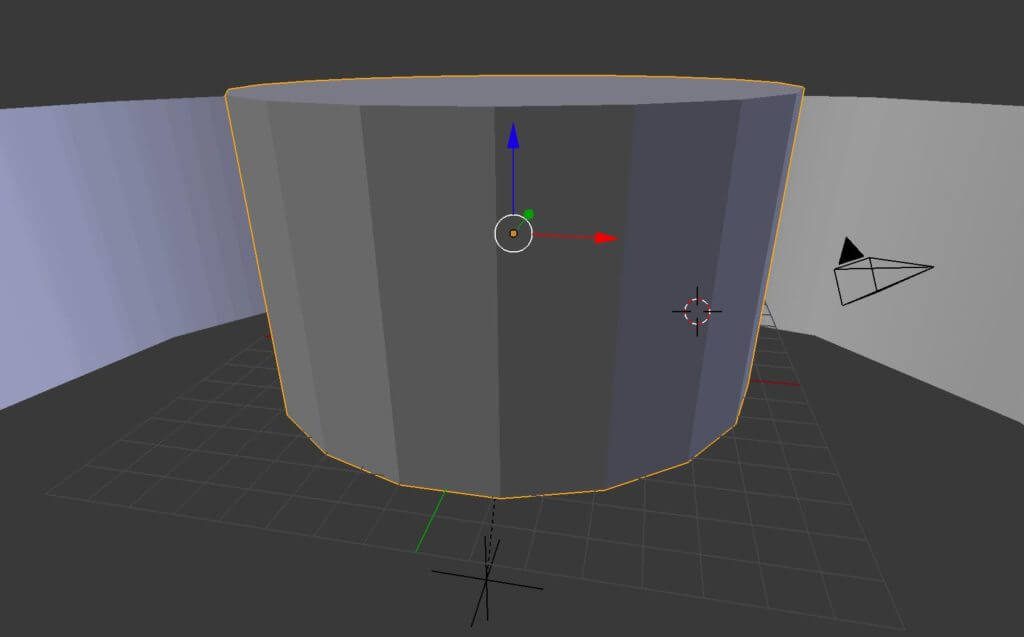
After that, scale up the cylinder that will be our occluder. In addition, make sure the occluder covers the room. If you don’t, you will be able to see those parts poking through later on. If the roof pokes through your occluder slightly that’s okay, we can scale the roof down in Spark AR to make it fit.
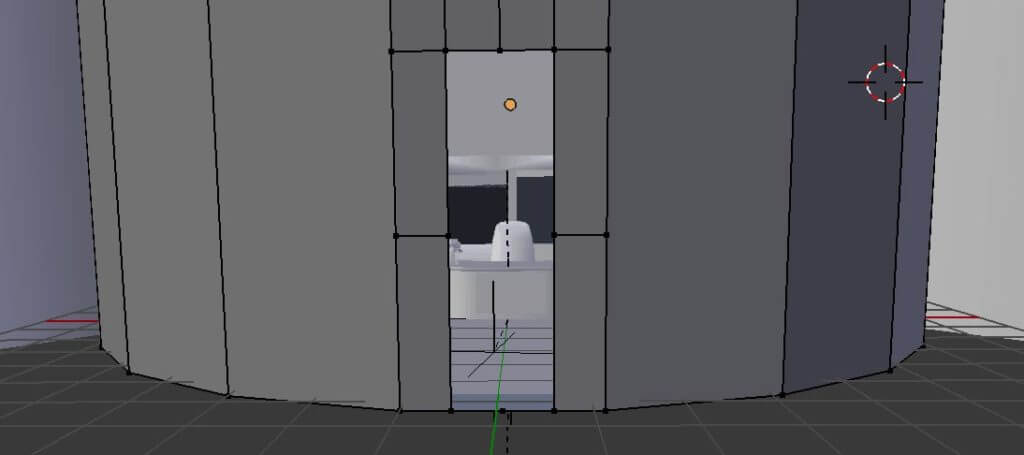
The first step of creating the portal-part of our portal is cutting a hole in the occluder mesh. We do this in Blender by going into Edit Mode, selecting the four points of the rectangle that needs a hole and then subdividing the selected edges two times. After that, select the smaller rectangle that you have created in the middle, and delete that. Your occluder should look something like the image below.
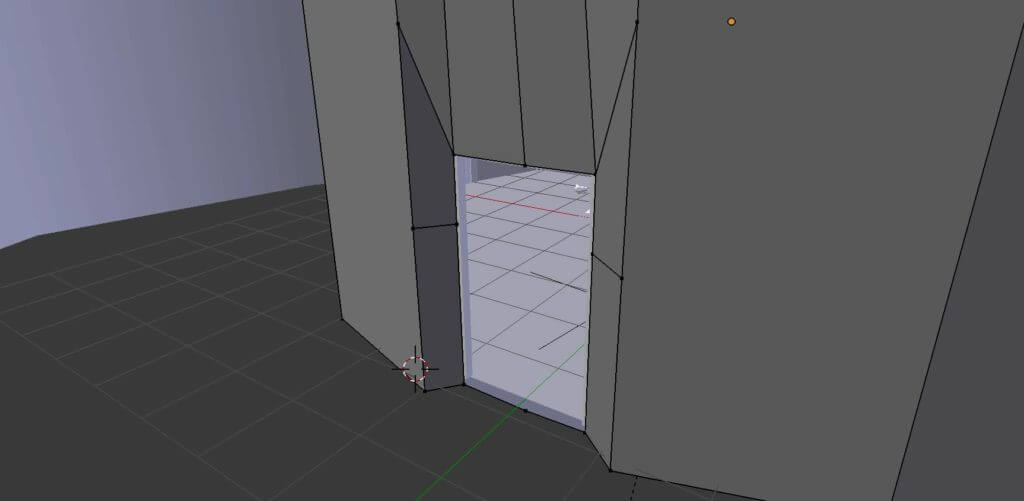
Therefore, if you look at where the hole in our occluder is compared to the door in the room, you’ll notice they don’t really line up too well. Select the vertices you want to adjust and move them closer to the door of the room.
Now leave only the occluder in your 3D software and export it to an .obj or .fbx. We already have the model of the room loaded in our project (with proper attribution) so we just need the occluder.
Import the occluder object into your Spark AR project, adjust the scale and position exactly over the room. In the project file tree, make sure the occluder is a child of the first null object of our room model. We’re getting somewhere, the first step of creating a portal for our portal is complete!
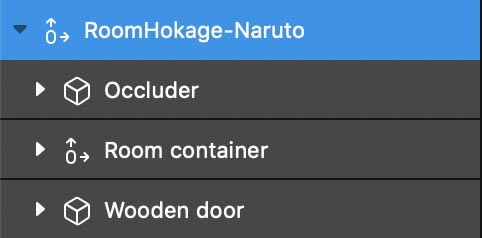
Leave the occluder mesh as is right now, we will get to tweaking the materials later. The second step is to make the portal look more natural to our scene. I used the AR Library to look for a door and I liked the first result: Wooden Door by HASSAN. The model of this door is split into to meshes, the door itself and the frame of the door. Sweet, because our door will need to be open. Add this door to your project and again, make it a child of the first null object.

Because the users of our effect are likely going to look at the objects in our scene from different angles, we need to make sure our materials are set to double-sided. Most materials of these objects are already set to double-sided, but it’s important to check.
Create a new material for our occluder, if you haven’t already. Set the Shader Type to Flat and the Opacity to 1%. Apply the material to our mesh and our portal is nearly ready! As you can see my occluder doesn’t line up with my door the way I want to. So I will tweak the scale and position of the occluder some more, still having it completely overlap our room.
For the sake of simplicity for this tutorial, we will delete the exterior texture. It doesn’t fit nicely within our occluder and editing it is another story.
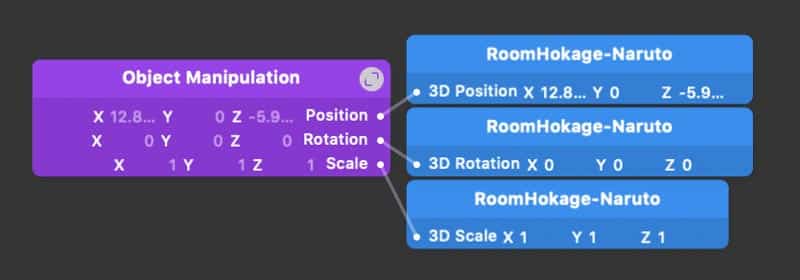
If we want to be able to place our portal on a surface in the real world, we will need to add a plane tracker. Go ahead and do that now, and make the null object that contains our occluder, room and door a child of that plane tracker. The plane tracker adds a small blue rectangle to your scene. If your phone detects a surface, that blue rectangle will be the centre. So grab our null object and place it directly on top of the blue rectangle.
To drag, scale or rotate our portal on your phone we need to add a small patch. We’ve already created one for you that you can download here if you haven’t already. Import it and drag the asset to your patch editor. Easy, huh? See why we needed everything to be a child of the null object now?
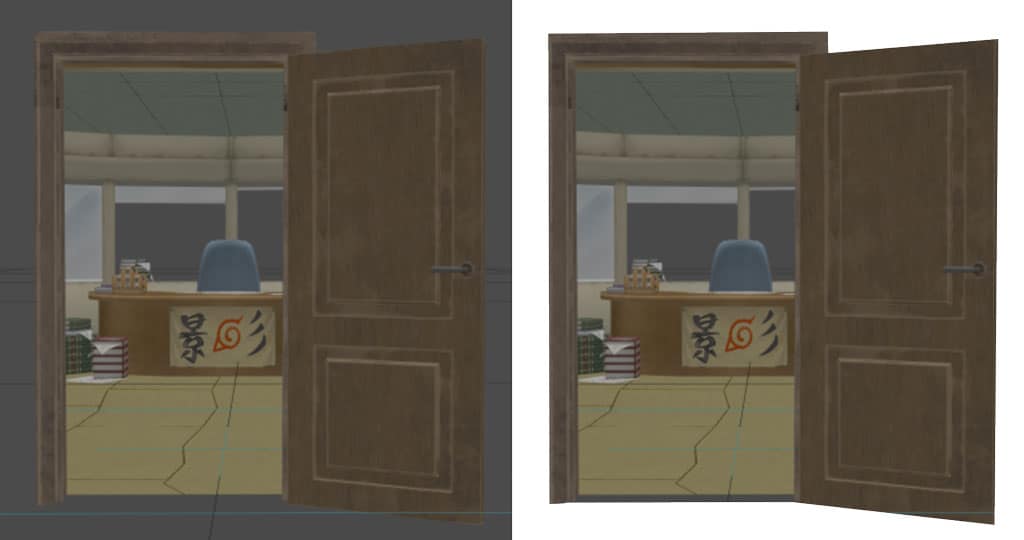
This effect is bound to be huge right now, because we haven’t compressed any of our textures yet. You might want to start with that, and try the effect on your phone after. The plane tracking of Spark AR is not extremely stable yet, but it helps a lot if you open the effect with a detailed surface in mind. Try dragging the portal around, scale it up and rotating it. Make it big, stick it to a detailed surface and try to walk around in it!
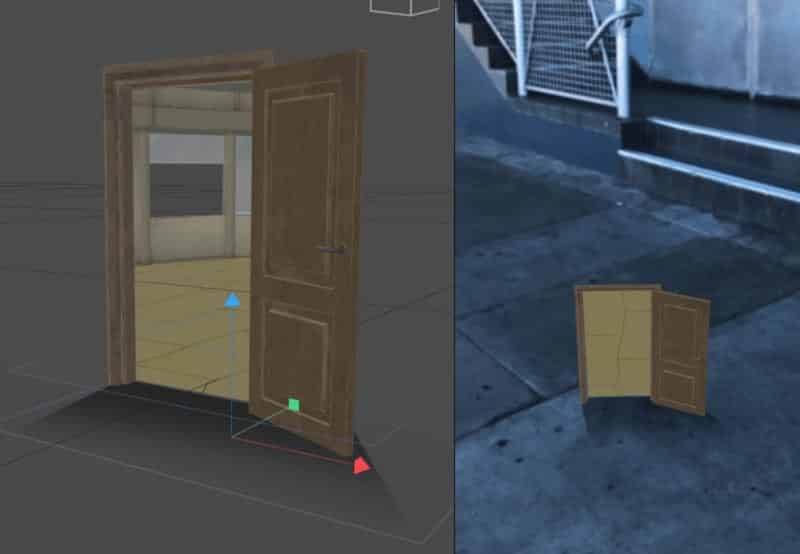
Congratulations, your portal works! But it looks like it floating above the ground, instead of standing on it. Therefore, we use an easy trick to make your portal blend in with the surroundings more realistically is to add a drop shadow. You can create shadows within Spark AR, but I like creating my own.
To do this, look at your portal from a frontal view and take a screenshot of the door. Import it into your favourite photo editing software and create a rough outline of the door. It doesn’t have to be very precise.

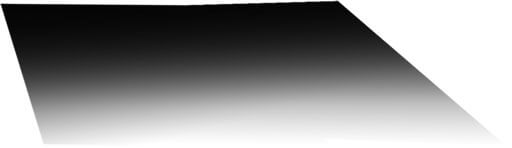
After that, transform the image of the door, and make it look like it’s a shadow to the other door. You might have to use Perspective-transform to get this right. In addition, fill the layer with white, and select the gradient tool to drag a black-to-transparant gradient over it. Turn the other layers off and export the gradient layer. If you don’t feel like doing it yourself, just save the image on the left and use that.
Create a new plane and make it a child of the null object. Rotate it by -90 degrees on the Y-axis and position it just underneath and in front of the door. I used an x-scale of 2 and y-scale of 1. After that, create a new material and set the shadow image as a texture of that material. The blending mode of the material should be Multiply, and the opacity should be around 50%. And suddenly, it looks like this!
Yay, you just created a portal! Now go out there and create something awesome! If you have any questions, please post them as comments to this Facebook post in the Spark AR Community. Or send us a message if you can’t see that post. In need of some extra info and inspiration regarding AR portals? Check the article here!
Want to learn more about AR? Just push this button 🚀


